Private Static Site (Auth@Edge) Quickstart
The Runway built-in sample generation of a basic React app will be used as a simple demonstration of creating an authentication backed single page application.
Contents
Prerequisites
An AWS account, and configured terminal environment for interacting with it with an admin role.
The following installed tools:
git (Available out of the box on macOS)
npm
Setup
Project Setup
Download/install Runway. To see available install methods, see Installation.
From a directory of your choosing run the following to generate a sample React project:
$ runway gen-sample static-react
A new folder will be created entitled
static-react. If you’d like your project to have a different name feel free to change it at this time.$ mv static-react my-static-site
Change directories into the new project folder and prepare the project directory. See Repo Structure for more details.
$ cd my-static-site
$ git init && git checkout -b ENV-dev
User Pool Setup
The default
runway.ymldocument that is provided withgen-sample static-reactis a good baseline document for deploying a standard static single page application without the need of authentication. In this example we’ll be leveragingAuth@Edgeto provide protection to our application, not allowing anyone to view or download site resources without first authenticating. To accomplish this we need to create a Cognito UserPool. Login to your AWS Console and search for cognito.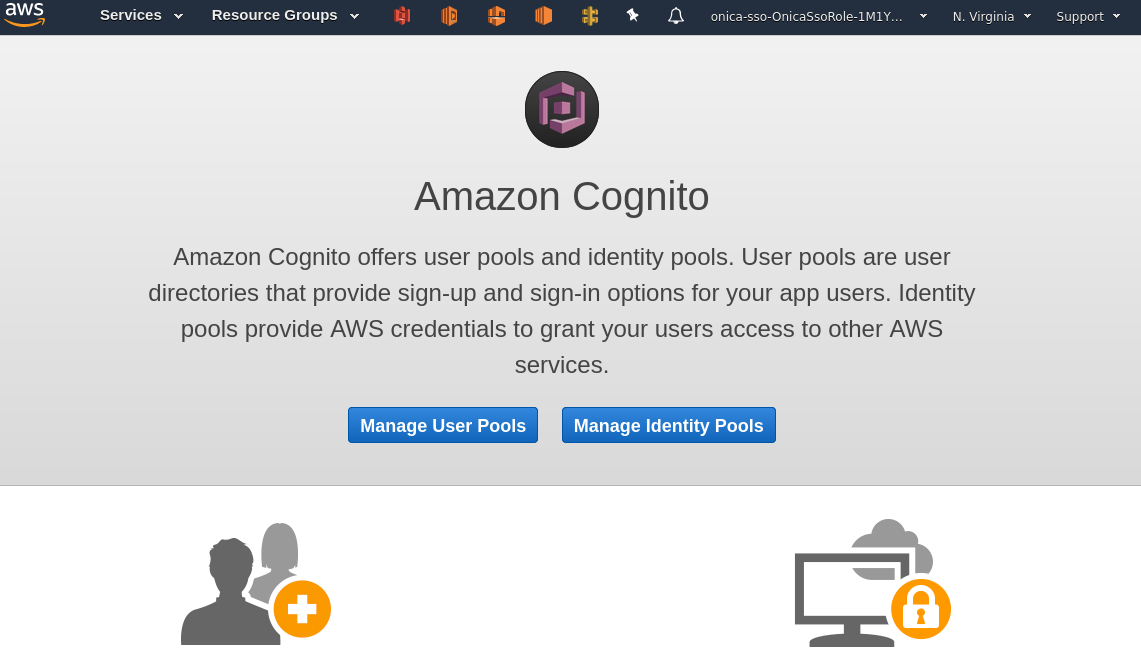
Click
Manage User Pools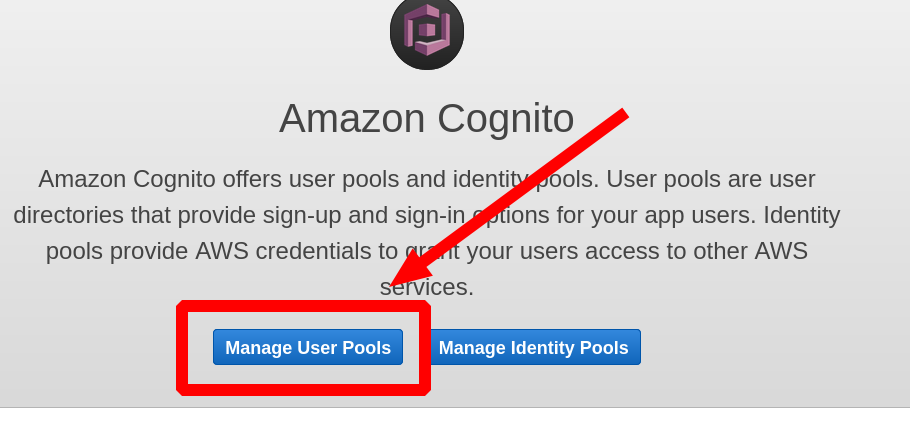
Click
Create a user pool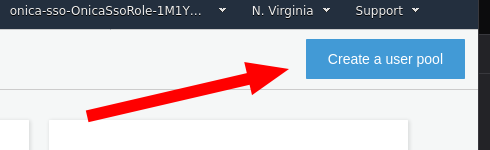
You will be asked to provide a name for your User Pool. For our example we will be using a default Cognito User Pool, but you can
Step through settingsto customize your pool if you so choose. After entering your Pool name click theReview defaultsbutton.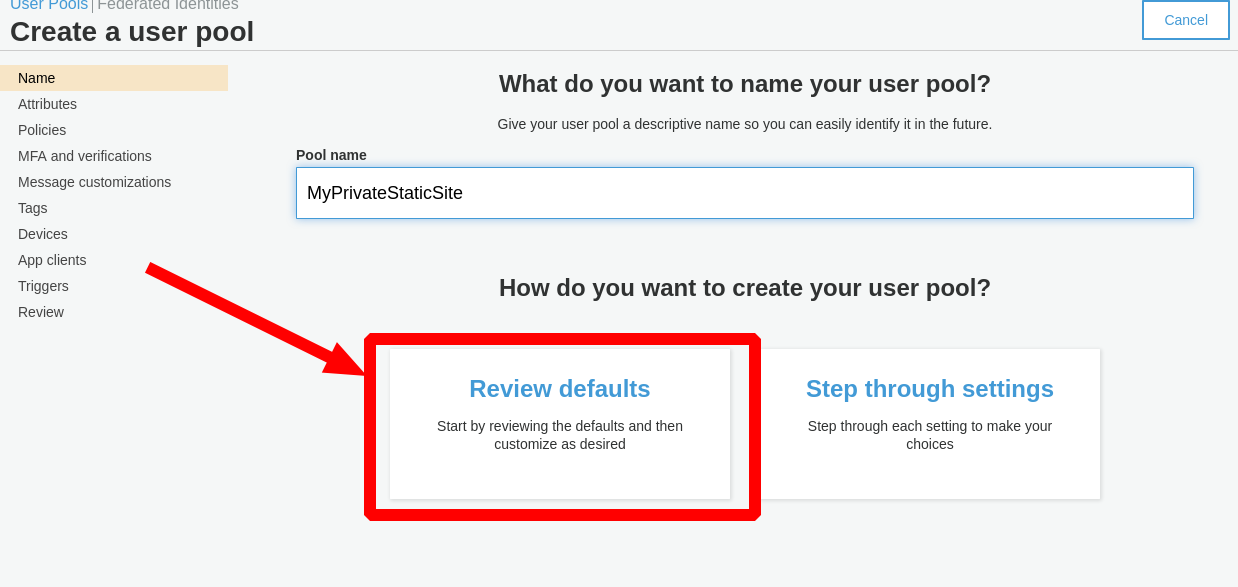
Review all the settings are accurate prior to clicking
Create pool.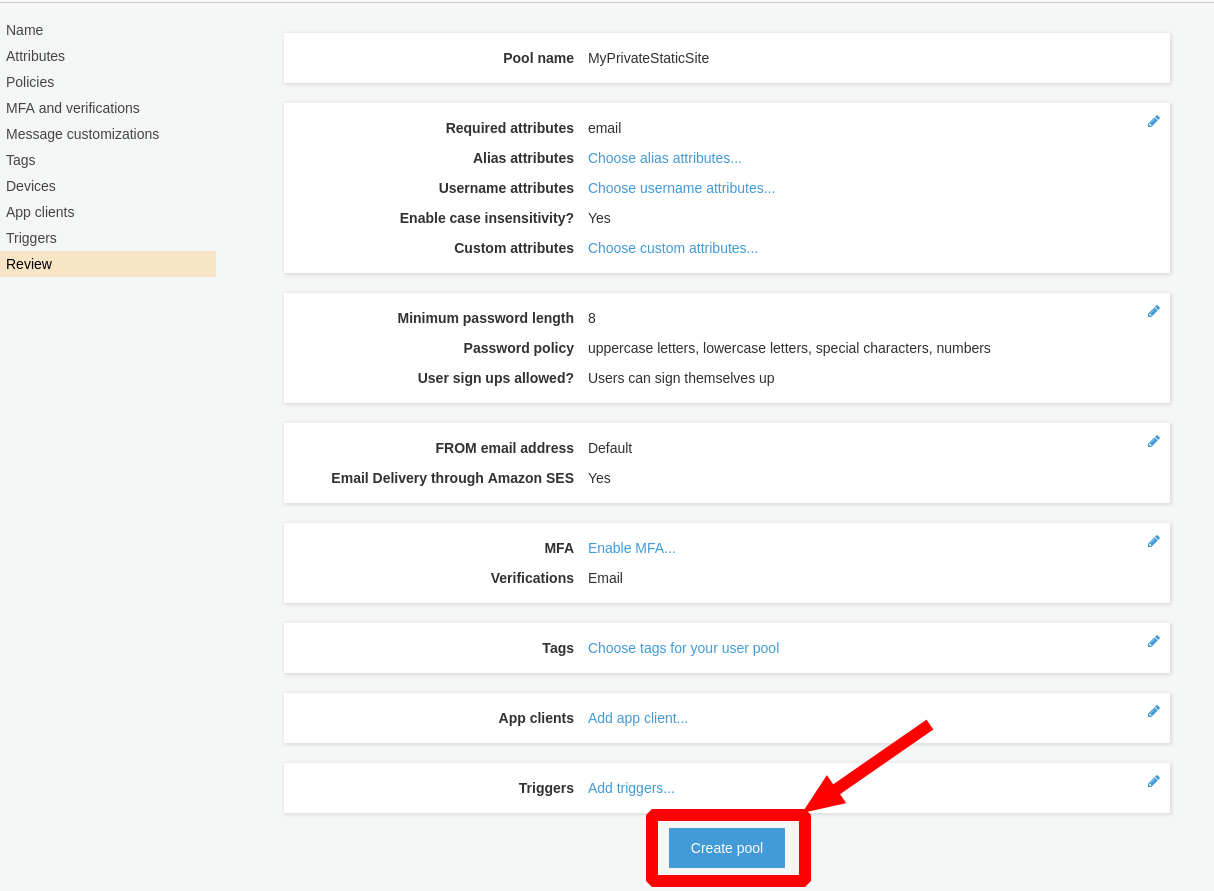
Next let’s create a test user to verify our authentication functionality after deployment. Click the
Users and groupslist link.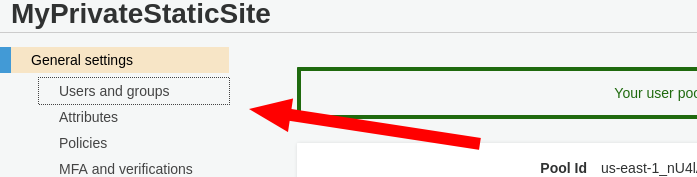
Click
Create user
In the form provided give a valid email address for the
Username (Required)andEmailentries. EnsureSend an invitation to this new user?is checked so you can receive the temporary password to access the site. Click theCreate userbutton.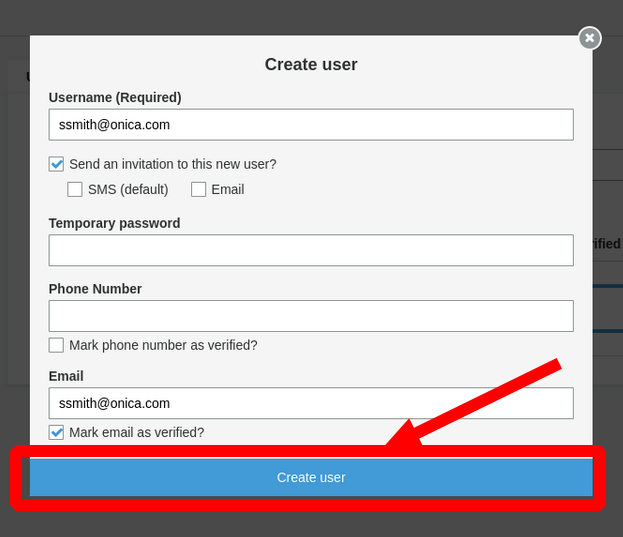
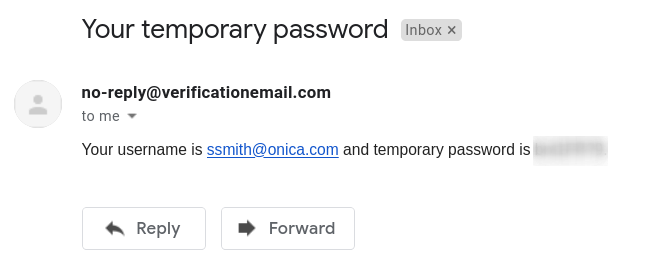
Check the email address provided, you should receive a notification email from Cognito with the username and password that will need to be used for initial authentication.
Now we need to retrieve the ARN for the User Pool we just created and add it to the
deployments -> modules -> environments -> devsection of ourrunway.ymldocument. Click theGeneral Settingslist link to retrieve the ARN.
staticsite_user_pool_arn: YOUR_USER_POOL_ARN
Domain Aliases with ACM Certificate
In this example we are going to be using an alias custom domain name to identify the CloudFront Distribution. This series of steps is optional, a domain will still be provided with the Distribution if you choose not to use a custom domain. This guide assumes that you have already purchased and registered a custom domain and created and validated an ACM certificate.
The ARN of the ACM certificate is required when providing an alias domain name. From the search bar of the AWS console locate
certificate manager. In this screen dropdown the details of your issued and validated certificate and locate the ARN.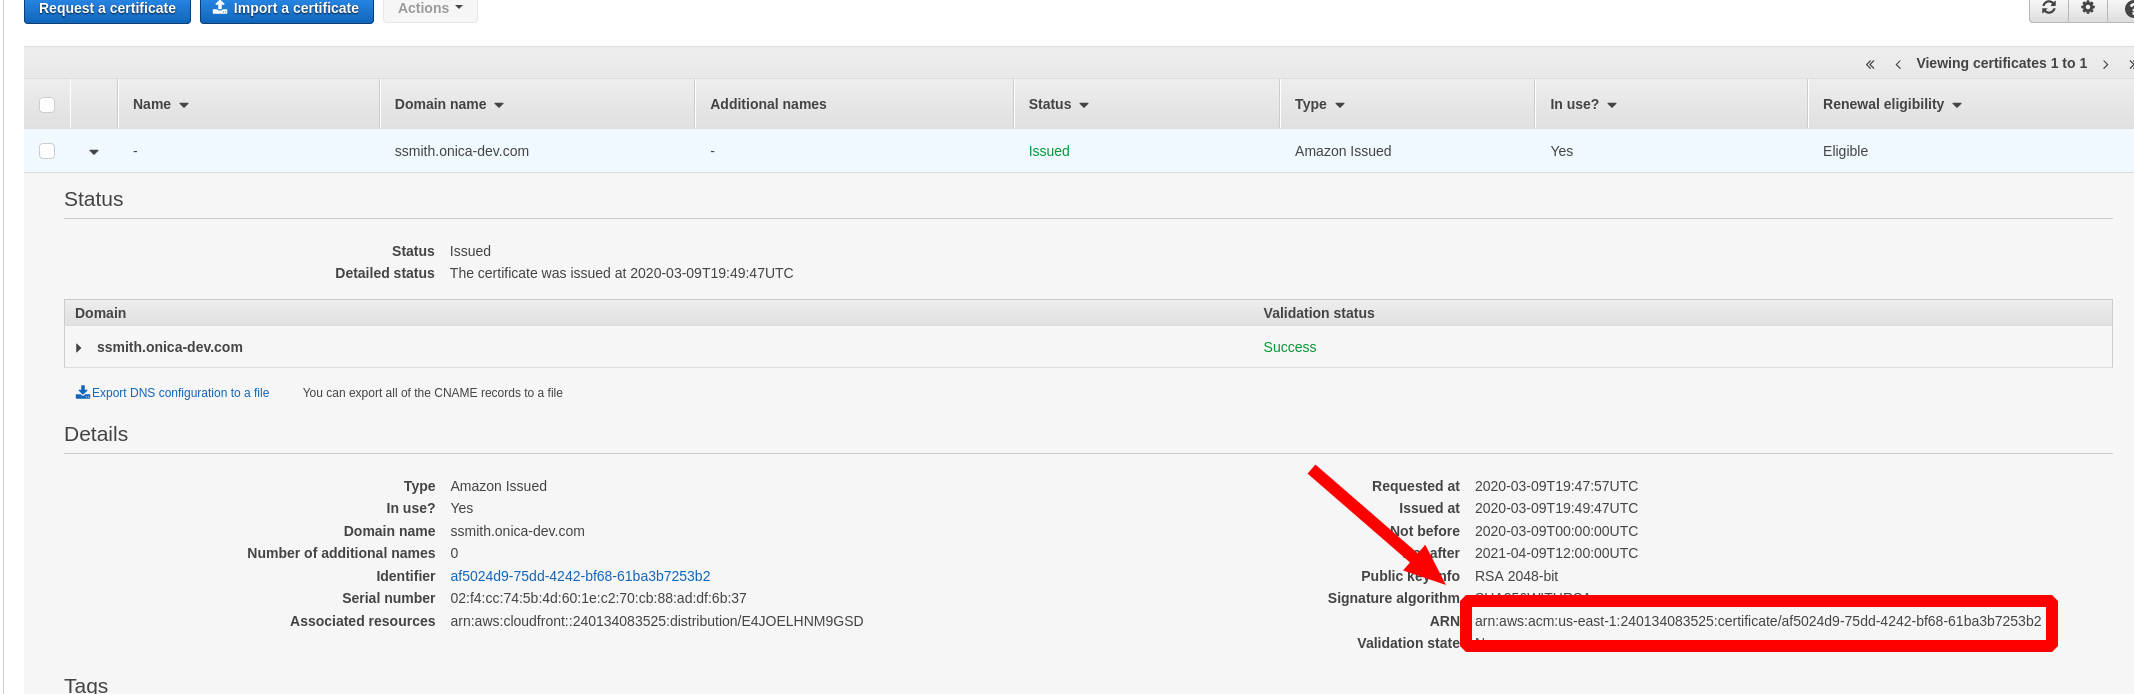
Create two entries in the
runway.ymlconfiguration file under thedeployments -> modules -> environments -> devheading. One for the alias we’re looking to provide, and the other for it’s ARN.staticsite_aliases: YOUR_CUSTOM_DOMAIN_NAMES_COMMA_SEPARATED staticsite_acmcert_arn: YOUR_ACM_ARN
Cleanup
By default the gen-sample static-react sample runway.yaml document comes with staticsite_cf_disable: true added.
Due to the nature of the authorization a Distribution is required.
Remove this line from your config file.
Deploying
Execute runway deploy.
Deployment will take some time (mostly waiting for the CloudFront distribution to stabilize).
The CloudFront domain at which the site can be reached will be displayed near the last lines of output once deployment is complete, e.g.:
staticsite: sync & CF invalidation of E17B5JWPMTX5Z8 (domain ddy1q4je03d7u.cloudfront.net) complete
Since we’re using a custom domain alias the Distribution will also be accessible by that domain.
Accessing and Authorizing
Authorizing
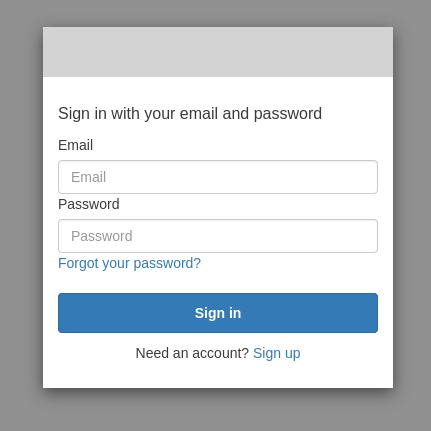
From your browser enter either the CloudFront Distribution domain or the alias you provided. You will be greeted with the Cognito login screen. Enter the username and temporary password you received in step 9 of User Pool Setup:
You will be asked to change your password based on the validation requirements you specified when creating the User Pool. Once you have satisfied the requirements click
Send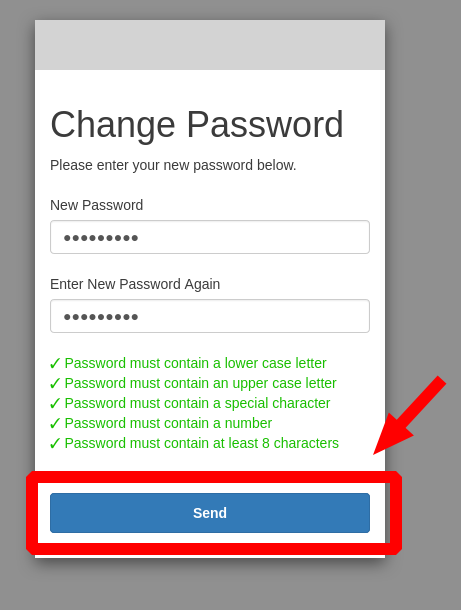
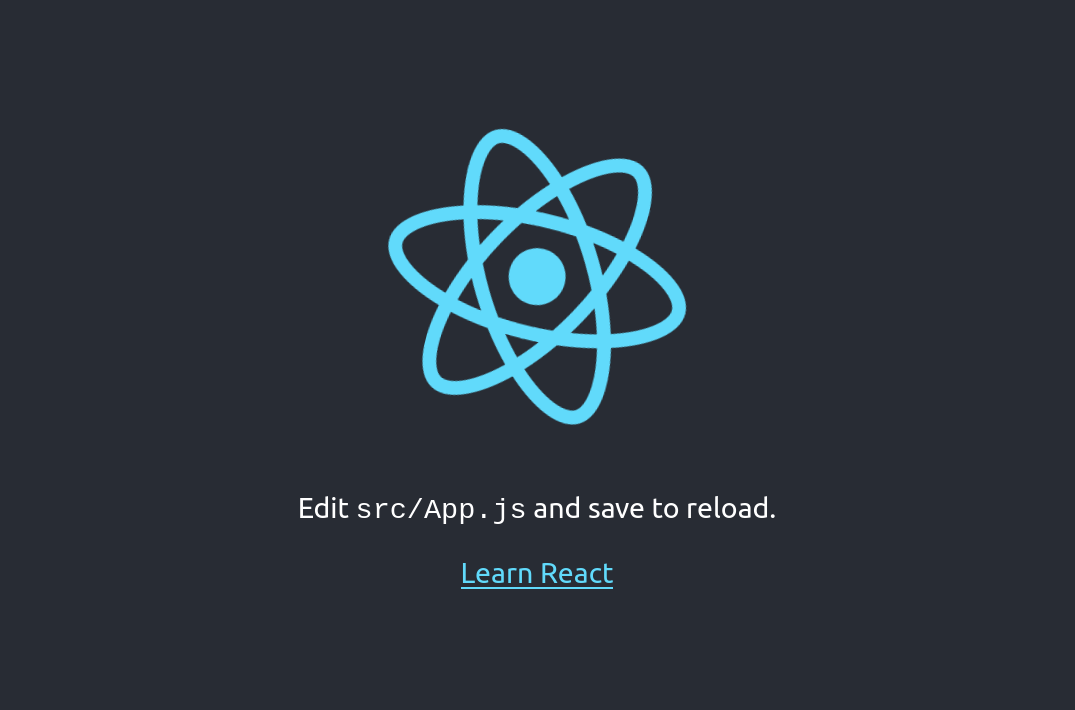
You will be greeted with the default React App home page:
Sign-Out
By default a /sign-out path is provided to sign out of Cognito.
Teardown
Execute runway destroy.